
🧾
Proof of purchase
Your receipt is often the most important document in the entire process. Make sure it shows the purchase date, retailer, product name, and total if possible.
Last updated: March 2026
Filing a warranty claim is much easier when your receipt, coverage terms, product details, and issue notes are already organized. This guide walks through the process step by step and shows how SmartWarrantyApp can help you prepare a stronger claim package.
Available on iPhone • AI-powered • Free to start
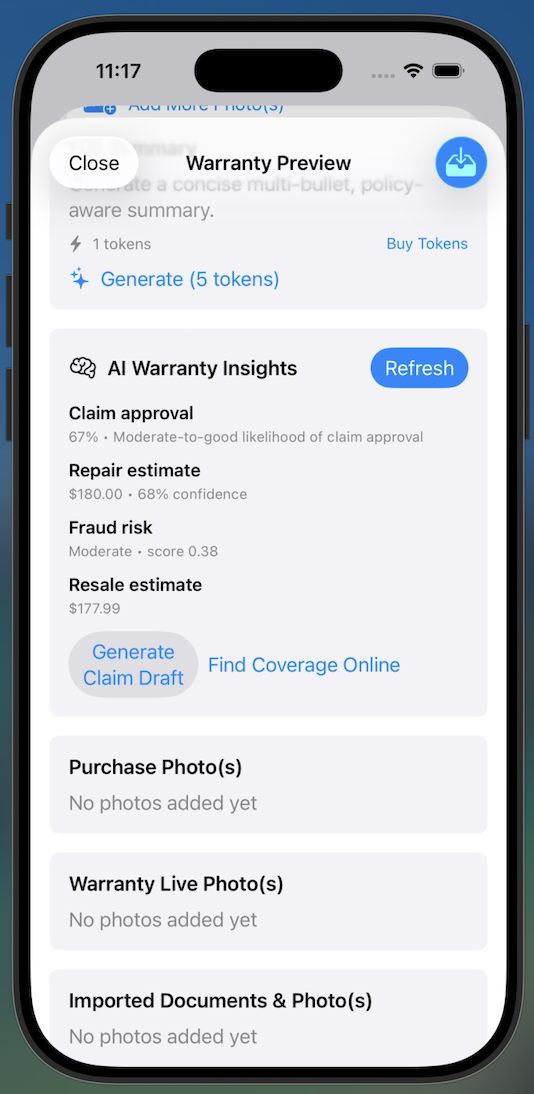
The biggest reason warranty claims fail is not the claim form itself. It is missing information. Before you contact a warranty provider, gather everything you may need so you do not waste time going back and forth.
Your receipt is often the most important document in the entire process. Make sure it shows the purchase date, retailer, product name, and total if possible.
Gather the model name, serial number, protection plan name, and any registration information tied to the item.
If the problem is visible, take clear photos or short videos. Good evidence helps reduce confusion and improves your chance of getting a useful response.
Before filing, verify that your coverage has not expired. Many people spend time preparing a claim only to realize the warranty ended weeks or months earlier. That is why the first real step is checking the dates, the provider, and the covered issue type.
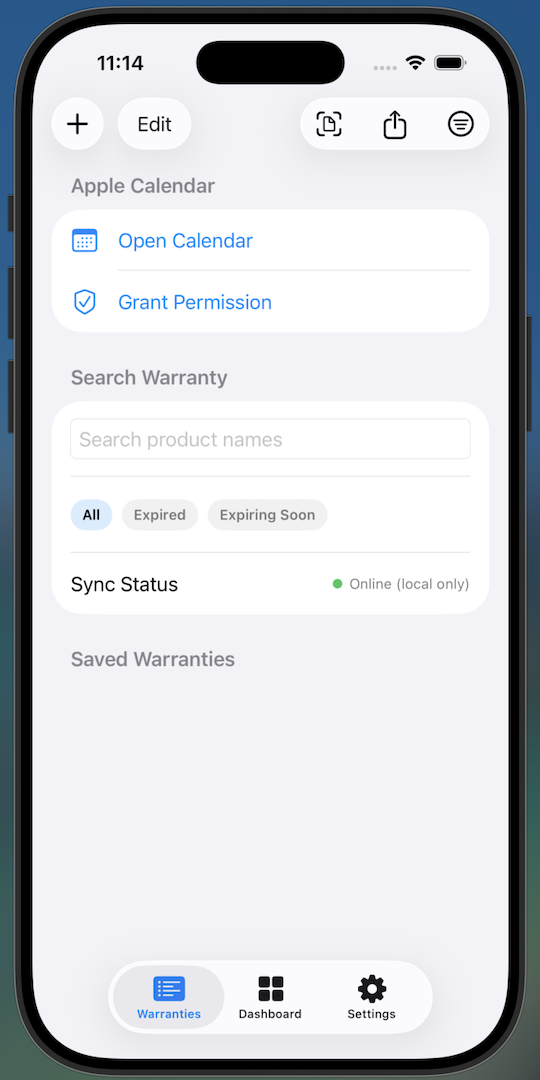
If you are storing your products inside SmartWarrantyApp, use the Warranty Tracker to review status, coverage windows, and expiration timing in one place.
If you're unsure whether your warranty is still valid, use the Warranty Tracker to confirm before filing a claim.
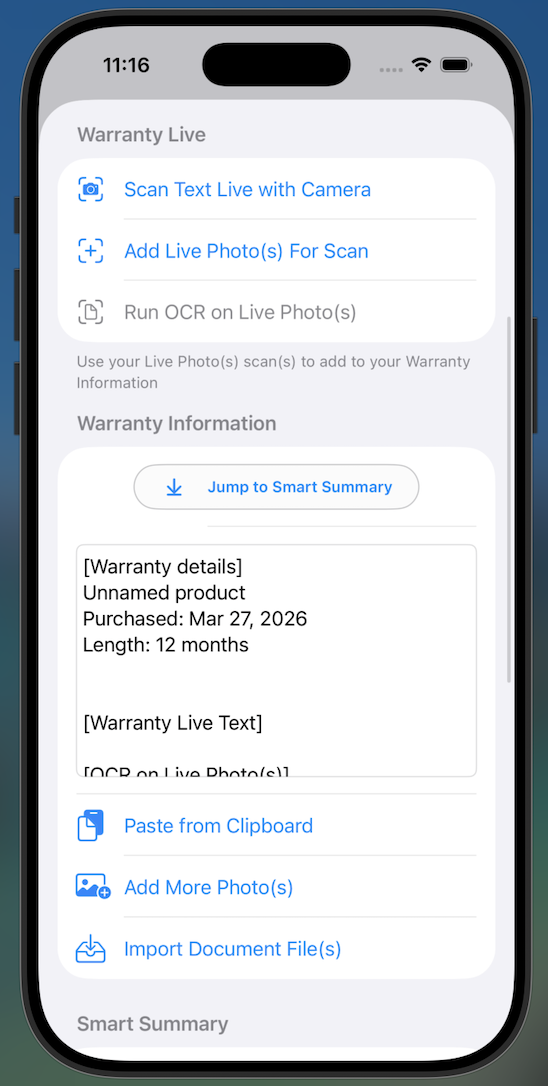
A clear receipt record makes everything easier. If your provider asks for proof of purchase and you cannot find it, the claim process can slow down immediately or stop altogether.
Use the Receipt Scanner to capture receipts, import files, or build a clean record from your existing photos and documents. This is especially useful when you have faded paper receipts or scattered purchase records from different stores.
Warranty providers need to understand what happened, when it started, and how the product is failing. A vague claim like “it broke” is less useful than a short, factual explanation.
Explain exactly what the item is doing or not doing. Keep the explanation specific and neutral.
Include the date or timeframe when the issue first appeared, especially if the problem worsened over time.
Add photos, videos, or notes that make the issue easier to verify without extra back-and-forth.
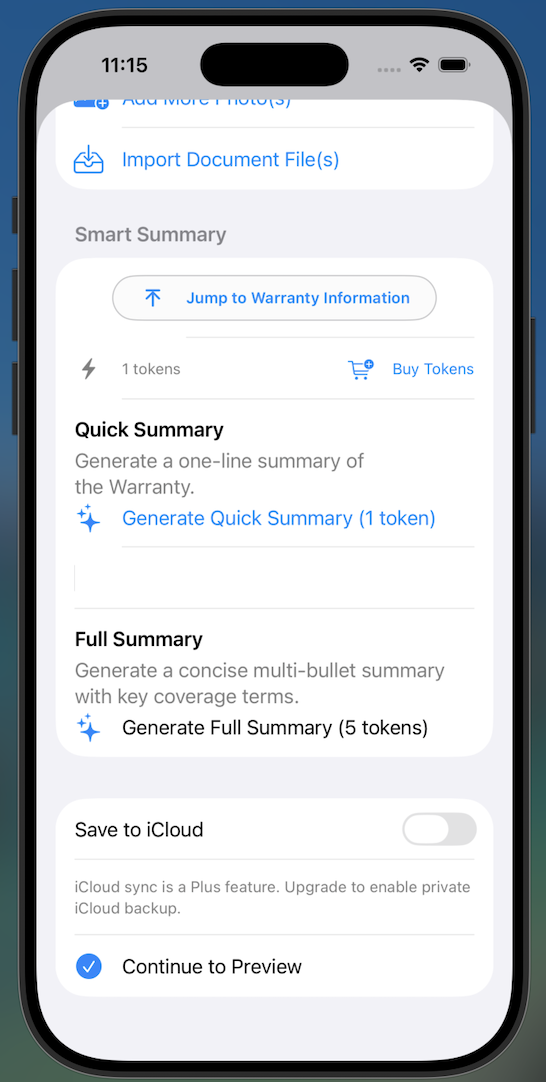
The cleanest warranty claims are the ones prepared before submission, not while the form is open. That means organizing the receipt, issue summary, photos, and plan details first, then submitting in one pass.
SmartWarrantyApp’s AI Claim Assistant is built for this stage. It helps frame the claim around structured information so your submission is easier to review.
Understanding the usual failure points can help you avoid preventable mistakes before you submit.
The warranty window has already closed, even if the issue started earlier.
No receipt, incomplete purchase record, or unclear retailer/date information.
The problem falls outside the terms of the plan, such as cosmetic wear, misuse, or excluded damage types.
The claim was submitted without enough detail, photos, or evidence for the provider to evaluate it efficiently.
Instead of searching through old emails, paper receipts, photos, and notes every time something fails, keep everything organized ahead of time. SmartWarrantyApp helps store records, scan receipts, review summaries, monitor expiration windows, and support cleaner claim prep.
These answers cover the most common questions people have before starting a warranty claim.